Friday, March 28, 2014

Carrrrnbread

In high school, I took this awesome dramatic literature class my senior year. It was taught by one of my favorite teachers and we spent a lot of our time reading out scenes from a range of bizarre and entertaining plays, so needless to say shit got pretty silly. One of my most vivid memories is sitting down to class at 8am on a gloomy winter day (much like today), and one of my friends breaking the sleepy silence with the following gem: "What does a pirate eat at the fair? Carrrrn dogs!". This post is in honor of the Dramatic Lit lunatics of 2005: Sweet Carrrnbread.


Guy, I LOVE cornbread. It's essentially a dessert, but it's also socially acceptable to eat it as part of your dinner. Win-win. I made a giant pan of cornbread a couple of weeks ago in anticipation of yet another snowstorm (springtime, eh?) and nommed it alongside chik'n tenderssautéed green beans, fajitas, vegetable soup, and on its own, slathered in raspberry jam. 

If you think sweet cornbread is blasphemy, don't fret! Just reduce the sugar to 2 tablespoons and enjoy a marrrr savory side. God, I'm so sorry. 


Sweet Cornbread

Makes one 9x13 pan of cornbread. If that seems excessive to you, just halve the recipe for an 8x8 pan!

2 cups soy milk (or almond/coconut/rice milk, if you prefer)
1 tablespoon vinegar
2 cups cornmeal
2 cups all-purpose flour
2 teaspoons baking powder
1 teaspoon baking soda
1 teaspoon salt
⅓ cup Earth Balance, melted (you can also substitute vegetable or canola here)
⅔ cup sugar
¾ cup fresh, canned, or frozen corn

Preheat your oven to 400 F and line a 9x13 baking pan with aluminum foil. In a medium bowl, whisk together the soy milk and vinegar, then set aside. Grab a big bowl and mix the cornmeal, flour, baking powder, baking soda, and salt together to combine. 


The first step to deliciousness.

Add the melted Earth Balance and sugar to the soy milk/vinegar mixture and whisk for daaaays. Okay not for days, but until you start to see little foamy bubbles appear around the sides of the bowl. This will take a couple of minutes and may give you carpal tunnel, but it'll be worth it. Pour the liquidy mixture into the dry stuff and add your corn.

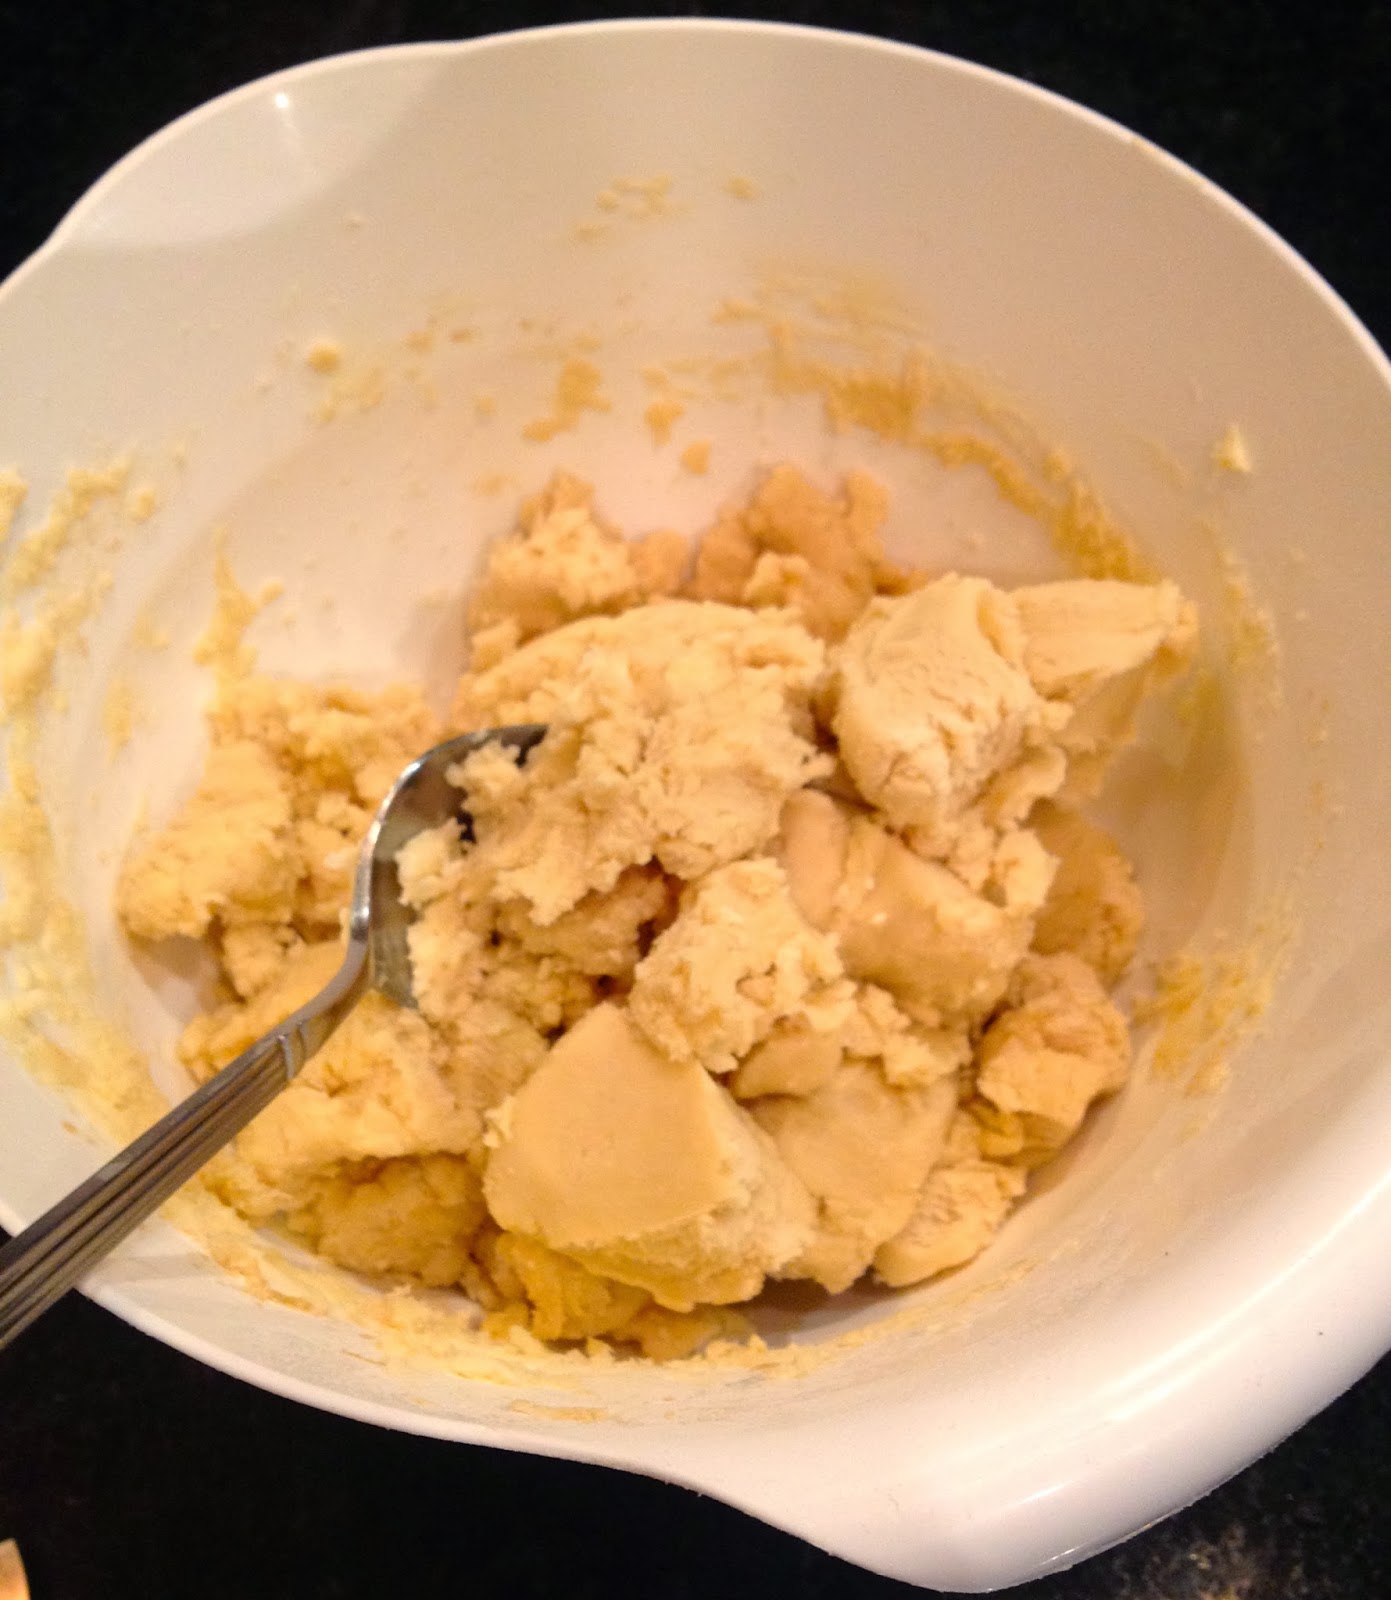
Definitely use your smallest mixing bowl to make this as difficult as possible. 

Mix everything together until it's all nice and combined - the batter will be thick and a little clumpy, which is perfect! Now pour this mess into your prepared pan and stick it in the oven for 20-25 minutes, until the top of the cornbread starts to look golden brown. Let your masterpiece sit for a few minutes to cool, but make sure it's still nice and warm when you serve it up!


Saturday, March 22, 2014

Till the Sweat Drips Down My...Eggplant

Guys, spring is HERE. And not a moment too soon - my poor Californian bones need to thaw after the frigid winter we've had. Spring is fickle, though, and beautiful days come interspersed with thunderstorms and cold winds, so today I'm going to share a recipe that's perfect for either scenario: Roasted Eggplant with Basil Tomato Sauce.


I have to admit, I used to despise eggplant, but in recent years I've developed a serious love affair with this little veggie. Roasting is my favorite way to prepare it, because the spices really settle into the eggplant and the texture of the "meat" gets soft and creamy. The acidity of the tomatoes and freshness of the basil and lemon in the sauce are a great complement to the smoky, hearty eggplants, and the dish is super versatile so you can serve it as a main course or an appetizer.

One unfortunate thing about eggplant is that it absorbs a ridiculous amount of oil when you cook it, leaving it chewy and soggy and awful. The secret way to get around this? Let your eggplant sweat. I'm not kidding - if you pour a ton of salt of your eggplant and leave it for 10 minutes, the salt will draw out a bunch of liquid from the vegetable, which you can then rinse off before you cook it. For whatever reason (science!), this makes the eggplant unable to absorb as much oil, and also gets rid of the bitter taste you sometimes get with bigger specimens. Healthier, tastier, and fun to watch.


So go forth and salt those eggplants, my friends!

Roasted Eggplant with Spicy Tomato Sauce

Serves 4 as an appetizer, or 2 as a main course

1 large purple eggplant (about 1 pound)
¼ cup salt
1 teaspoon cumin
1 teaspoon paprika
½ onion
3 cloves garlic
juice from ½ of a lemon
2 cans diced tomatoes (14.5 ounces each)
½ cup basil
salt and pepper to taste
olive oil to coat your pan

Preheat your oven to 450 F. Line a cookie sheet with aluminum foil and lightly grease it with olive oil. Slice your eggplant into ½  inch thick rounds (about the width of your thumb), then put the slices in a colander in the sink and just salt the shit out of them. Seriously, don't be shy - pour salt all over those bad boys. You're going to wash it all off soon, so your arteries don't need to worry.

Salty dogs. 

After 10 minutes or so, you should see fat droplets of water all over the eggplant slices. Hooray! Rinse them well to get rid of all that salt and place them on your baking tray. Sprinkle a little bit of cumin, paprika, salt, and pepper over each slice, then pop the sheet in the oven for 20 minutes.

Look at these pretty little things!

While the eggplants are roasting away, you can make your sauce. Dice the onion, mince the garlic, and coarsely chop the basil. Heat a little olive oil in a large saucepan over medium heat. Throw in the onion and sauté it for about 2 minutes, then add the garlic and cook for another 5 minutes, or until the onion bits are translucent. Pour in the lemon juice and the diced tomatoes - if you want a thicker sauce, I recommend draining some of the liquid, but it's totally up to you! Stir this tomato-y mess around until it's bubbling, then add the basil and as much salt and pepper as you please. Turn off the heat and set the sauce aside until your eggplants are ready to go. 


The goods (plus habanero on the right because I can't help myself)

You can check to see if the eggplants are done by sticking a fork into the middle of one round - it should feel really really soft, like you're poking a toothpick into a stick of warm butter. If that weird analogy sounds about right, you're all set! Serve the eggplants on top of a bed of couscous with the tomato sauce on the side for a main dish, or pour the tomato sauce directly on top and garnish with leftover basil for a juicy appetizer. Enjoy!


Sunday, March 16, 2014

Mexican Commitment Ceremony Cakes

They're just like Mexican Wedding Cakes, but for morally corrupt crusaders against family values like yours truly! Apparently these cookies are also called Russian Tea Cakes, but let's not even go there.


Alright, all snark aside, you guys are going to love these teeny sugar-coated cookies - they're ridiculously delicious and so easy to make! This sweet treat is super rich and buttery, with a great nutty crunch and a melt-in-your-mouth powdered sugar coating. 

These cookies only require 5 ingredients and approximately 20 minutes, so if you're in the market for a last-minute contribution to a potluck or afternoon tea then these little guys are perfect. Plus they're tiny, so you can totally eat 7 of them in one sitting without feeling guilty. That's how it works, right? 


Mexican Wedding Cakes
(adapted from Hell Yeah It's Vegan!)

Makes about 4 dozen cookies

1 cup Earth Balance
1 teaspoon vanilla extract (or a nutty liqueur like amaretto, because YOLO)
2 cups flour
1 ½ cups powdered sugar
1 cup walnuts

Preheat your oven to 350 degrees. Chop up the walnuts, spread them on a cookie sheet, and pop them in the oven while it heats up. Keep a close eye on them - the line between "toasted" and "completely charred" is pretty fine. You'll want your walnuts to be fragrant and just a teeny bit golden brown. 

Chop chop!

In the meantime, grab a medium bowl and mix the Earth Balance and vanilla until creamy. Add the flour and 6 tablespoons of the powdered sugar and go to town - you're going to need to mix for a couple of minutes before the dough comes together. 

Keep mixing!

Quick quick, take out the walnuts before they burn! Once they've cooled a little, mix them into the cookie dough. If you're the kind of person who liberally taste-tests raw cookie dough before it goes into the oven (who isn't?), you're going to worry that I've ripped you off because this concoction is admittedly a little bland and uninspiring. But have faith, it's gonna be okay!

Also, check out the sweet apron my mom got me. 

Dig into the dough and make cookie balls that are a little bit smaller than a ping pong ball. Don't worry about flattening them or spacing them out or anything like that. Once you fill up a cookie sheet, just stick it in the oven and bake for 10 minutes, until the cookies are a very little brown on the bottom. Wait a couple of minutes, then transfer the cookies to a wire rack to cool.

Enlist your friends for help!

Once the cookies are sort of cool but still warm (I gave them about 10 minutes), you're ready for the final step. Pour the rest of your powdered sugar into a flat dish and roll the cookies around like little snowballs. If the powdered sugar immediately melts on contact, wait a couple more minutes for the cookies to cool. That's it! Your cookies are ready to devour - just watch out for powdered sugar spillage!


Sunday, March 9, 2014

Paint With All the Colors

Guys, I just can't get away from beans. I can't and I won't! And because DC was cold and gray and awful last week, this week's dose of beans comes to you in an extra colorful form: Spicy Stuffed Peppers.


This dish is basically a burrito stuffed into a bell pepper. Honestly, I just don't know how you could possibly go wrong. These little bombs do require a bit of prep time, but you'll be amply rewarded by a beautiful tray of peppers overflowing with rice, beans, and plenty of fragrant spices. Bell peppers have tons of vitamin C, which is perfect for when the weather is shitty and everyone around you is sniffly, and I guarantee the vibrant colors will be well-received on a gloomy winter day.


I made these recently for a dinner party, which worked out perfectly - everyone got their own pretty little pepper, and judging by how quickly they disappeared, I'm going to label these an all-around success!

Spicy Stuffed Peppers
(adapted from Isabelle Boucher over at Crumb)

Makes 6 peppers

1 cup rice
6 medium bell peppers (red, orange, yellow, green, whatever you please!)
1 medium onion
3 cloves garlic
1 can black beans, drained
1 can sweet corn, drained
3 teaspoons paprika
1 teaspoon cumin
½ cup tomato sauce
2 tablespoons cilantro
hot sauce, to taste
salt and pepper, to taste
olive oil to coat your pan

Cook your rice while you prep all your veggies. Dice the onion, mince the garlic, and roughly chop the cilantro. Now for the peppers: carefully cut off the top of each one and scoop out any seeds that are left over. You can keep the little hats for presentation, or you can accidentally throw them out like an idiot.

Pre-decapitation.

You don't want your bell peppers to be too tough after they cook, so we're going to soften them up a little bit before we bake them. Set a large pot of water on the stove to boil - once it's bubbling away, toss the peppers in there for about 5 minutes. You can take them out once they're a little softer and less bright than when they started. Drain well, then set them right-side up in a baking pan lined with aluminum foil.

I recommend a bigger pot.

Preheat your oven to 400 F. Now it's time to make the filling! Heat a little bit of oil in a large saucepan over medium heat, then toss in the onions and garlic and cook for about 5 minutes, until the onion becomes translucent. Add the rest of your goodies - rice, beans, corn, paprika, cumin, and tomato sauce - and stir until everything is combined and steamy. Turn off the heat and stir in the cilantro, and as much (or as little) hot sauce, salt, and pepper as you fancy.

Cumin, my favorite!

Carefully spoon the filling into the bell peppers, stuffing them all the way to the brim. Pop the little guys in the oven for 25 minutes, until you can see the skin of the peppers start to brown and crack.

Ready for roasting.

Take them out and let them cool for a minute, just so the filling has a chance to set a bit. Serve with a side salad or topped with sliced avocado for a healthy, colorful dinner!


Sunday, March 2, 2014

Buffalo Balls

That's right, I said it: buffalo balls. I know this sounds totally incongruous for a blog called Lez Be Vegan, so take my hand and let me show you the magic of these spicy, tangy falafels.


I've already gone on at length about my obsession with chickpeas and cauliflower, but one thing that may not be immediately obvious is how much I like spicy food. Polish people are not known for their love of chili peppers - herbs like dill and parsley are much more the Motherland's speed - yet somehow my entire family ended up on the capsaicin bandwagon and routinely enjoy searing off our tastebuds with various curries and soups. Living in Thailand for 2 years only fueled this fire (get it??), and now I'm left disappointed if my food doesn't make me cry a little bit.

So, what could possibly be better than chickpeas or cauliflower or chili peppers? Chickpeas AND cauliflower AND chili peppers, of course! Today's falafel recipe combines all of these delicious ingredients for an amazingly high-protein, low-fat, vitamin-packed dish that I am 100% in love with. Homemade buffalo sauce is shockingly easy to make, so you can adjust the type of hot sauce you use for different flavors and levels of spice - you could even leave it out if that's not your jam, and just enjoy the crisp, fluffy falafels themselves.

Fiery little morsels.

Normally I write out my recipes here, but this time I feel like there's no way I could possibly match the literary genius of the original so I will send you on your way to Thug Kitchen, which is hilarious and delicious and as NSFW as a food blog can possibly be. Of course, I would be remiss if I didn't leave you with some photos to tempt you, so peruse at will and then get your ass into the kitchen!

Hi I love you. 

Teeny cauliflower grains.

Can't go wrong with a little extra avocado.