Friday, May 30, 2014

Oh Fudge

Among the many popular misconceptions about vegans - we're all anemic, we don't get enough protein, we'll defriend you on Facebook if you eat a burger in our presence - my favorite is the idea that vegans are all health nuts who subsist on quinoa salads and raw kale. Not so! And as proof, I offer you Exhibit A: Peanut Butter Fudge.


Ohhh this fudge. I can't remember the last time I made something so rich and decadent. I can normally put away sweets like nobody's business, but even I couldn't handle more than a single square at a time. The coconut cream is the key here - it'll make your fudge super smooth and thick, and has the added bonus of smelling incredible when you melt it together with the chocolate, vanilla, and cinnamon. 

This recipe is a little bit time-consuming, but really easy - all you need is a heavy saucepan, a bowl, and some patience! If peanut butter isn't your thing, try adding chopped nuts to your fudge, or maybe even subbing out the vanilla with strong coffee for a hint of espresso flavor. 


Peanut Butter Fudge
(chocolate fudge adapted from Cassidy's Cravable Creations; peanut butter topping adapted from Minimalist Baker)

Makes one 8x8 pan

For the chocolate fudge:
½ cup coconut cream (to make this, stick a can of full fat coconut milk in the fridge for at least an hour)
¼ cup maple syrup
16 ounces semi-sweet chocolate
2 tablespoon coconut oil 
1 teaspoon vanilla
1 teaspoon cinnamon
 ¼ teaspoon salt

For the peanut butter topping:
3/4 cup creamy peanut butter (the natural kind is best!)
 ¼ cup powdered sugar
2 tablespoons  coconut oil
½  cup coconut cream
¼ tablespoons maple syrup

Line an 8x8 pan with aluminum foil and set aside. This is my favorite part: crack open your can of cold coconut milk and you'll see that it's surprisingly solid. That's the cream! Carefully scoop it off - don't get too rowdy or you'll end up breaking through to the liquid on the bottom, which we don't need for this recipe. 

Dump all of the ingredients for the chocolate fudge into a heavy saucepan over low heat and slowwwwwly melt everything together, stirring all the while. I'm usually all for turning that flame up to speed things along (perhaps why I set off the fire alarm so often), but be patient here or you'll end up burnt chocolate and that's just a damn shame. 

Just look at that silky deliciousness

When the mixture is smooth and silky and delicious, pour it into the prepared pan and pop it into your freezer for an hour. While you wait for the chocolate to set, you can get started on the peanut butter half of this beautiful relationship!

Taste test liberally

You don't even need a pot for this step - just scoop all the ingredients for the peanut butter topping into a bowl and stir it up really well. Work those forearms! This mixture will be a lot thicker than the chocolatey mess, but you should still be able to easily pour it over the frozen fudge. 

A match made in heaven 

Now pop that all back into the freezer for another hour and dance around in anticipation for the magical dessert you're about to eat. Once the peanut butter topping has set, slice your fudge into 1-inch squares and enjoy! Store your leftovers in the fridge to keep them from getting too gooey, but I recommend serving at room temperature to get that soft, fudgy texture that we all know and love. 

Friday, May 23, 2014

Moar beanz!!

Three-day weekend, woooo!! Do you lovely people have any fun plans? I'm going on a little road trip to the Midwest, which I'm super excited about. As everyone knows, the most important part of a good road trip is snacks - yeah, you probably need a vehicle and a GPS and a human being who can tolerate your company for long hours in a small metal can, but if you don't have a solid snack selection, you're pretty much setting yourself up for failure. Friends, I bring you: Roasted Chickpeas.


I feel like I'm super late to this party because when I searched for recipes for roasted chickpeas, I came up with thousands upon thousands of recommendations! I just tried these tasty little morsels for the first time last week, and naturally I was instantly obsessed with the idea of using my favorite bean to transfer different herbs and spices into my mouth. 

This snack is so easy, quick, and versatile - I'm including several seasoning ideas below, but you can go completely nuts here to maximize your snacking bliss. Feel free to leave your suggestions in the comments! The only requirement is that you include some sort of liquid in the mix so that everything sticks to the chickpeas. Otherwise you'll just end up inhaling a bunch of spices every time you take a bite and nearly choking to death while trying to watch Homeland - trust me, I speak from hard-earned experience.

You could theoretically add these bad boys to a salad or serve them as a side dish, but I'm pretty sure they're best enjoyed by the crunchy fistful. Mm!


Roasted Chickpeas
Makes 2 cups 

1 can (15 ounces) chickpeas

For Sweet Maple Chickpeas:
  • 2 tablespoons maple syrup
  • ½ teaspoon cinnamon
  • ½ teaspoon nutmeg

For Spicy Lime Chickpeas:
  • juice from 2 limes
  • 1 teaspoon finely chopped cilantro
  • ½ teaspoon paprika powder (or crushed bird's eye chilies if you're feeling brave)

For Savory Italian Chickpeas:
  • 2 tablespoons olive oil
  • 1 teaspoon garlic powder
  • ½ teaspoon dried oregano

Preheat the oven to 375 F and line a cookie sheet with aluminum foil. Crack open your can of chickpeas, dump those nuggets into a strainer, and rinse really well. Dry the chickpeas off with a paper towel and distribute them evenly on your cookie sheet, then pop them into the oven for 30-40 minutes.

Reporting for duty!

While you wait, you can prep your seasonings! This is a highly technical step that involves mixing together whatever you want on your beans in a medium bowl. Proceed with caution if you don't have an advanced culinary degree.

Spicy and sour...

...and sweet!

Are you ready to check your chickpeas? They should be crispy and a tiny bit golden brown. Don't fret if they're still a little soft - just stick them back in the oven for another 5 minutes! Once the chickpeas are ready, take them out and carefully pour them into the bowl with your seasonings. Gently toss to coat every bean with sweet/salty/spicy goodness. You can pack this little snacks in an airtight container for your roadtripping needs...if any chickpeas actually make it out of the kitchen. Enjoy!


Wednesday, May 14, 2014

Say Cheez!

I have a confession to make - in addition to being a sexual deviant and a hippie tree-hugger, I'm also one of those freaks who runs stupidly long distances and calls it "fun". I ran my first marathon in October 2013, and as soon as my toenails grew back, I promptly signed up for another one. Running makes me feel peaceful, happy, and strong...but more than anything, it makes me huuuungry. So as summer training and the corresponding long runs through DC's many parks draw closer, I've been on the lookout for tasty new meals that will provide maximum fuel for minimum effort. Fortunately, there are things like Chili Mac n' Cheez to fill the gaping void in my stomach.


This mac n' cheez...I don't even know where to start. It's super easy, requires minimal standing over a hot stove when it's 80 F outside, and is SO tasty. Whenever I tell someone that I'm vegan, the response is almost invariably, "But what about CHEESE??", accompanied by a look normally reserved for people who wax their armpits or didn't like Frozen. This cheez is made from cashews, but I swear you wouldn't know it based on how creamy and thick it gets when you cook it up. Plus, this dish apparently has 19 grams of protein per serving! 19!! That's almost half the recommended minimum in one delicious bowl of pasta - vegan pasta, no less. Take that, haters.


Minimalist Baker is one of my favorite food blogs ever - I'm 100% onboard with their quick and wallet-friendly philosophy, the photography is impeccable, and I have yet to try a dish that I'm not completely obsessed with - so I'm going to go ahead and send you their way for this incredible recipe. Check out the photos below, then click your way to cheezy nirvana!

Spices and cilantro - we're off to a good start. 

Homemade fritos NOM.  

Ooh yeah. 


Friday, May 9, 2014

Guest Post: Kalen's Baked Oatmeal

GUYS. Guys.  I have a guest post of epic proportions for you this week - my college roommate and baking goddess Kalen has been kind enough to share a ridiculously delicious recipe with us all. Kalen is actually a professional - she's the head baker at this lovely little place in LA - and I legitimately don't think I've ever eaten anything she made that wasn't phenomenal. She also sent me this incredible guest post as I was scarfing down a bowl of cereal for dinner and trying to survive my last round of grad school finals, so she gets extra brownie points on top of everything else. Mm brownies.

Maybe last week's coffee cake was a little too dessert-y for your breakfast needs. Maybe you've tried Kalen's baked goods before and know that she actually can do no wrong when given a mixing bowl and an oven. Maybe you just really like oatmeal - I do! Whatever your reasons, this delicious Baked Oatmeal is sure to please your taste buds and your tummy.

 *********************************************************************************

Hey!  I'm Kalen.  I was Justyna's roommate in college.  I like butter.  Like for real.  I'm a baker, and I'm into butter.  Glad we got that out of the way.  When Justyna decided to be vegan, I had a lot of qualms.  You see, Justyna and I in college probably had a few too many excursions in pursuit of cupcakes, and/or pie, and/or ice cream.  We were partners in dessert crime.  I hope you are picturing us as hamburglars with cupcake accessories, because that's a dream come true!  Anyway, when Justyna decided to be vegan, I thought these excursions would be gone.  Goodbye to our cupcake destruction days.  Luckily, the girl still likes to eat delicious food.  And double luckily, being vegan has made her explore cooking and baking even more!  While I'm still going steady with butter, Justyna being vegan helps me to think about baking in a different light.  When preparing pastries at work, I like to play around with recipes I think might be easily adaptable to be vegan and still be awesome.  For me, vegan baking should be making something super delicious, that just so happens to be vegan. With this, I give you Vegan Baked Oatmeal.


This oatmeal is the perfect dish to share with your friends at a brunch, or perfect to have on hand throughout the week when you need a quick healthy breakfast on the go.  It is easily customizable too!   It's like those oatmeal swirlers from the 90s but grown up and way better. 


I've made it a few times, sometimes with berries and bananas, sometimes with apples and hazelnuts.  You can adjust your oatmeal to whatever produce is in season. Once you get the hang of it, you can go crazy with toppings and try different combinations to suit your tastes.  (You can also make this gluten free if you get your hands on Gluten Free Oats!)

Vegan Baked Oatmeal
Makes 9 squares 

2 cups Oats
½ cup Walnuts
 cup Brown Sugar
1 teaspoon Baking Powder
1½ teaspoon Cinnamon
2 cups Almond Milk (Or milk of your choice)
1 tablespoon Flax Seed Meal (Or Chia Seed Meal)*
3 tablespoons Water
2 teaspoon Vanilla
1½ teaspoon Canola Oil
1½ cups Assorted Berries
2 Bananas

Preaheat your oven to 350 F.  Spray an 8X8 Pan.  First make a flax egg by combining the flax meal and the 3 tablespoons of water.  Stir to mix and let sit for 15 minutes.  In another bowl mix together the oats, 1/4 cup of walnuts, brown sugar, baking powder, cinnamon, and salt.  

I'm sticking my tongue out at you in this picture!

Grab your prepared 8x8 pan.  Slice your banana and arrange slices in a single layer in the bottom of the prepared dish.  Sprinkle 1 cup of the berries over the top of the bananas.  Pour oat mixture evenly on top of the fruit.  


In a separate bowl combine the almond milk, flax egg, canola oil, and vanilla.  Stir to combine.  Slowly pour milk mixture over oat and fruit mixture to coat.  Tap pan on counter to make sure the milk moves through the oats.  Sprinkle remaining nuts and berries over the top of oat and milk mixture.  


Bake for 20-30 minutes, until the top is nicely golden and the oat mixture has set. You should be able to jiggle the pan without any movement from the oats in the middle.  Remove from the oven and let cool for a few minutes.  Cut oatmeal into 9 squares, serve warm.  Oatmeal will keep about 5 days, and can be heated for your breakfast throughout the week!


* Notes:  The Flax/ Chia Egg is used as an egg substitute, but I have a feeling that this recipe doesn't even need it.  I haven't tried it without it, but if you can't get your hands on flax or chia, try it!  If it doesn't hold together, you will still have delicious oatmeal.

**Next I want to try breakfast baked quinoa, or maybe a mixture of oats and quinoa!  Ooo fiber!


Friday, May 2, 2014

Coffee Cake Cake Cake

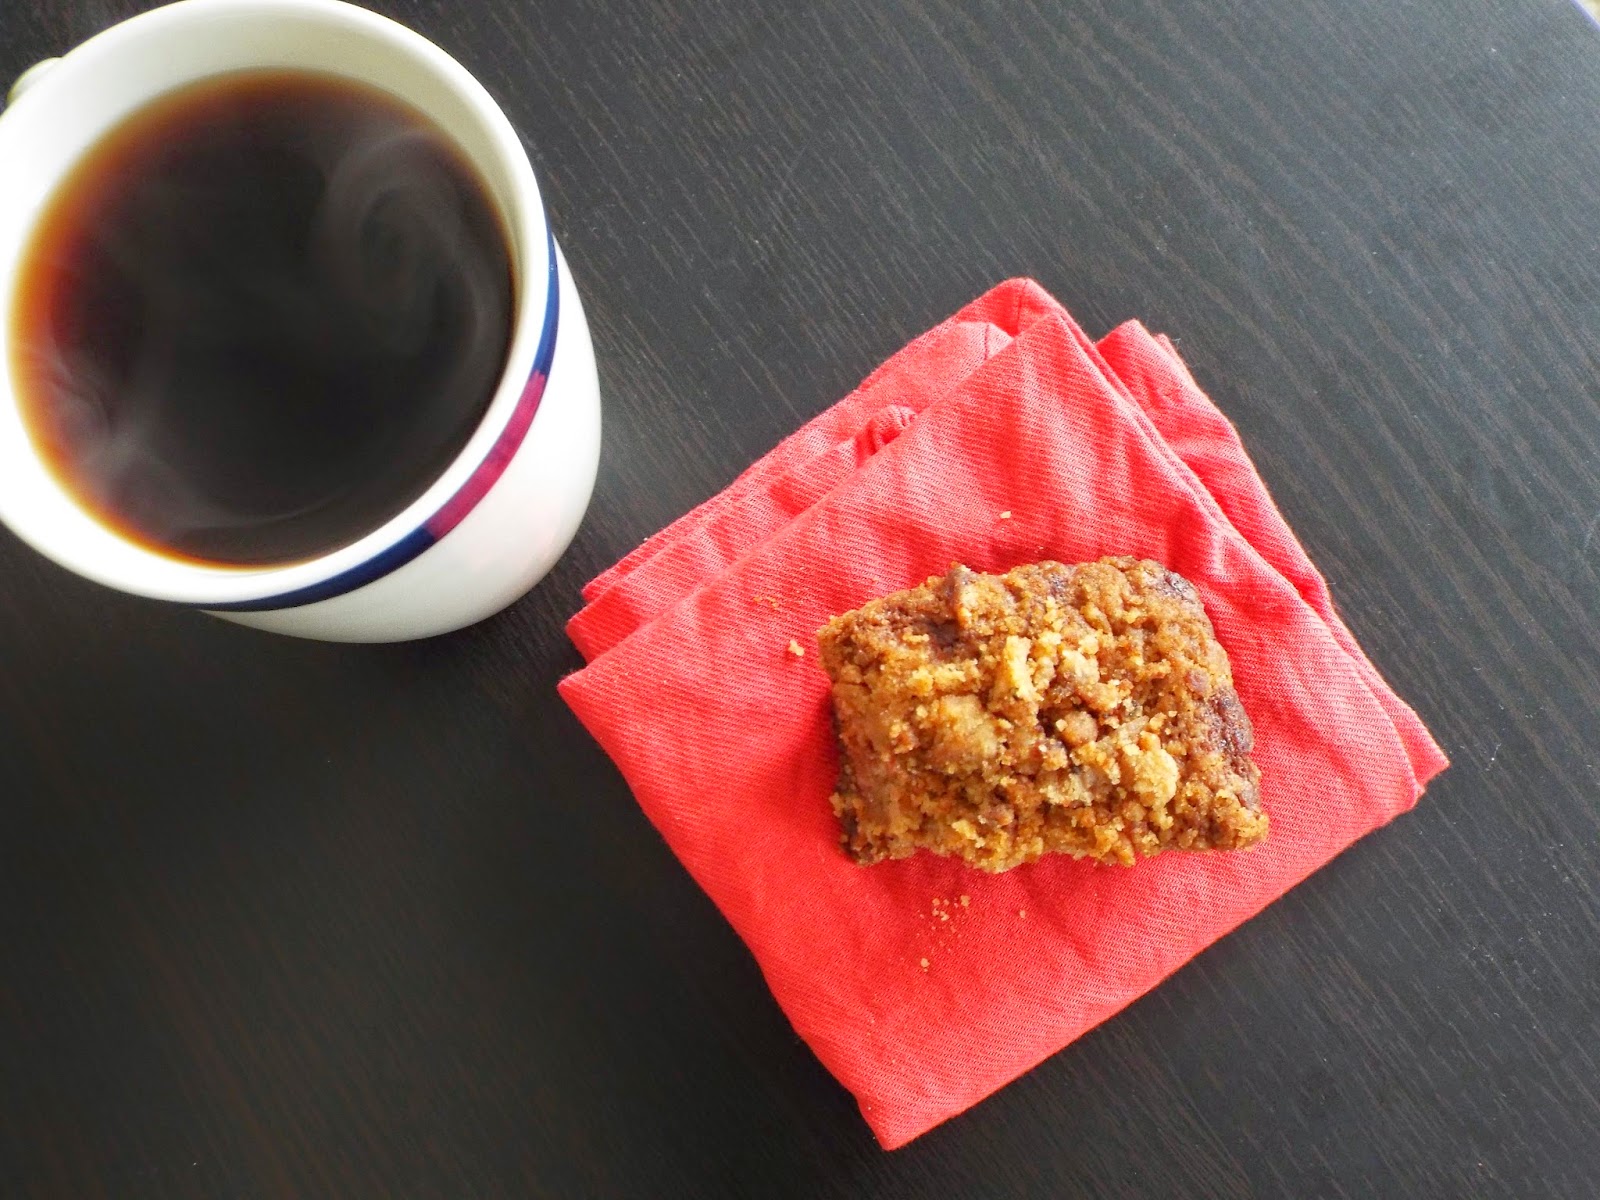
Let's face it: mornings are hard. I naturally tend to wake up pretty early (we're talking 6am on a Saturday), but leaving my warm little blanket burrow is never not a struggle. Luckily, my love of food generally wins out of my love of lazing around, so I'm infinitely more likely to make it to a vertical position if I know there's a delicious breakfast, like Cinnamon Streusel Coffee Cake, waiting for me.


I don't really have to sell you guys on this too hard, right? Cake is cake, and this one in particular is light, fluffy, and moist. And "streusel" is just a fancy word for "sugar-butter-flour crumbles", which sounds like everything good and holy in this world so of course I'm going to put it on my breakfast. The crunchy topping is a perfect complement to the soft coffee cake, and the combination of subtle coconut flavor and spices smells and tastes incredible.

If cake for breakfast is not your jam (who are you?), rest assured that this sweet treat remains highly edible during Sunday brunches, afternoon coffee breaks, and anytime you need a little pick-me-up!


Cinnamon Streusel Coffee Cake
Makes 16 servings

1 cup coconut milk (or soy milk, or almond milk, etc)
¼ cup coconut oil 
1 tablespoon apple cider vinegar
1 cup flour
½ cup brown sugar, packed
teaspoon baking soda
teaspoon baking powder
teaspoon vanilla
teaspoon cinnamon 
teaspoon nutmeg
 ¼ teaspoon salt 

½ cup vegan butter, melted
½ teaspoon cinnamon
1 cup brown sugar, packed
1 cup flour 

Preheat your oven to 375 F, and line an 8x8 pan with aluminum foil. In a small bowl, combine the coconut milk, melted coconut oil, and apple cider vinegar and whisk it up really well. Set it aside for a couple of minutes - it's going to curdle and look kinda gross, but it'll make your cake moist and delicious!


In a medium bowl, whisk up the flour, brown sugar, baking soda, baking powder, vanilla, cinnamon, nutmeg, and salt. Slowly pour in the liquid mixture and stir just until combined - don't worry if there are a couple of clumps in there. Pour the batter into the pan while you make your streusel.


For the sweet, crunchy crumble topping, just combine the leftover butter, cinnamon, brown sugar, and flour in a small bowl. This is the fun part - you get to get down and dirty with your hands! Work the mixture between your fingers to make little streusel clumps, then sprinkle that all over your cake batter. Make sure to get the edges!


Stick your cake in the oven and bake for 35-40 minutes, or until a toothpick stuck in the middle comes out clean. Enjoy that delightful cinnamony smell, along with some piping hot coffee and tea to start your day off right!